To create a tattoo design with AI, describe one main subject, choose a visual style and review the generated artwork before changing anything else. A useful result is a clear reference for a conversation with your artist. It is not a promise that every small detail is ready to tattoo. Start with the motif, then use separate try-on and stencil steps when you need placement or editable linework.
- Describe one idea. Open the studio and use AI Tattoo Generator to name the subject, composition, line treatment and details to omit.
- Generate and compare. Choose a style, generate an image and change one important feature at a time.
- Prepare the handoff. Download the design and keep notes about the details your artist should preserve or change.
How to create a tattoo design with AI from a focused prompt
Begin with the part of the design you would recognize from across a room. For example, a single peony with two leaves gives the generator a stronger direction than a collection of unrelated symbols. Add the shape of the composition: tall, circular, symmetrical or gently curved. Describe the artwork itself rather than asking for a photograph of a tattooed person.
Next, specify how the subject should be drawn. Thin contours and open space communicate a different intention from broad black shapes or a colored illustration. Include a plain background so the result is easier to inspect, upload and convert later. Mention lettering only when you are prepared to check every character; attractive shapes can still contain incorrect words.
Try this starting prompt: A single peony flower with two leaves, delicate black contour lines, open petals and a tall balanced composition. Keep the complete motif on a plain white background, without lettering or a decorative frame. The prompt is deliberately narrow. After seeing a result, you can decide whether it needs more detail, fewer leaves or a different silhouette.
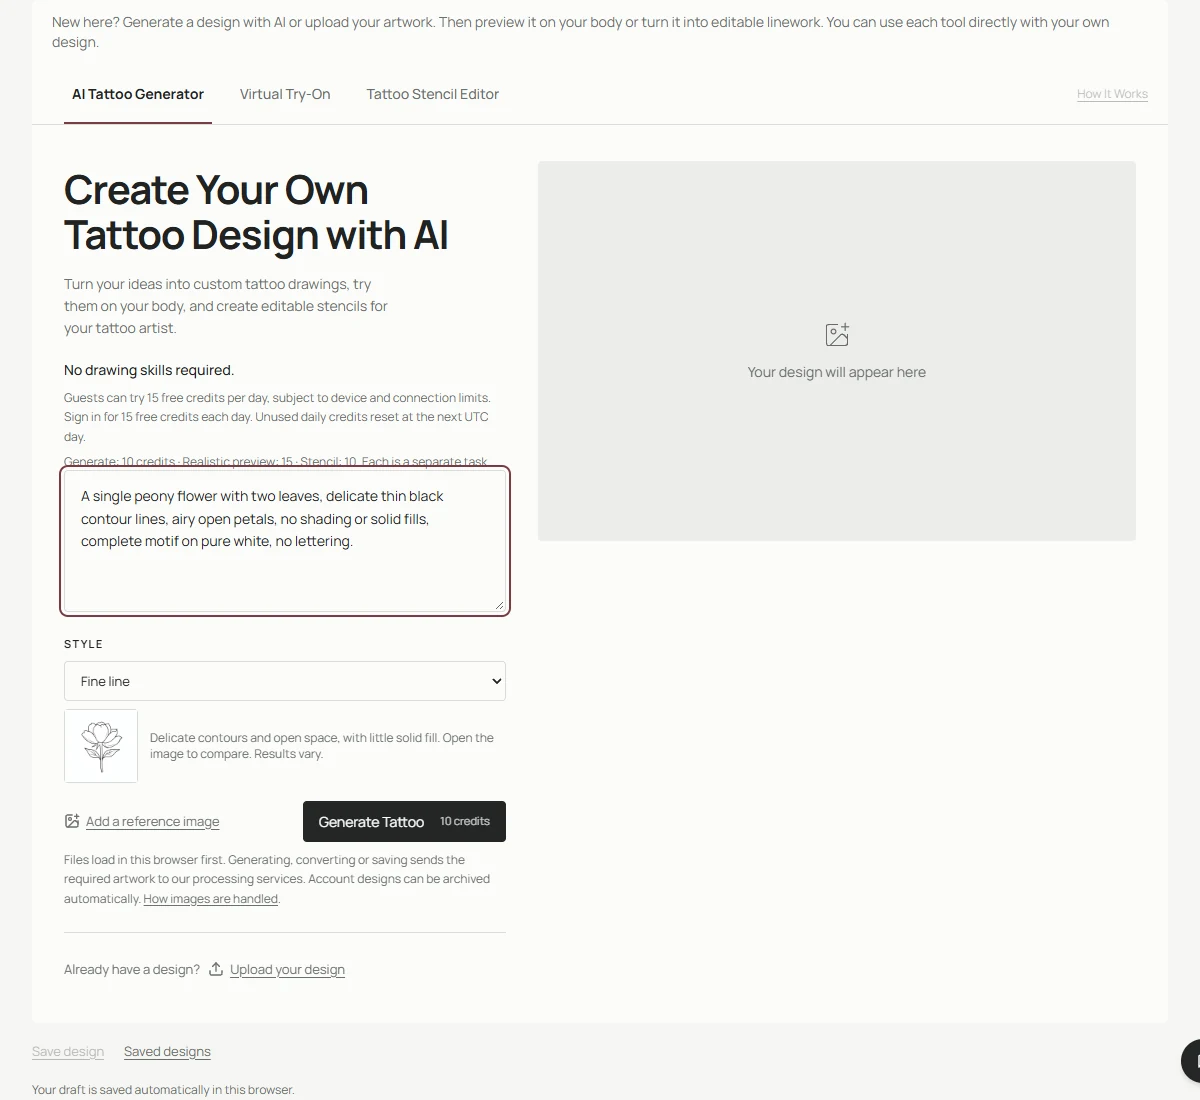
The real generator interface with a focused prompt. A selected style guides the result; it does not lock every detail.
Choose a style and use references deliberately
Choose Fine Line for an example built from delicate contours, or Blackwork to explore stronger areas of dark shape and negative space. Ornamental emphasizes decorative rhythm, while Japanese gives a different contour and composition direction. These are starting directions, not a guarantee that an image belongs to a precise artistic tradition. Compare the visible result with what you actually requested.
A reference image can communicate a composition or mood that is awkward to explain in words. Use your own sketch or material you have permission to upload. Tell the prompt which part matters: the arrangement, the flower shape or the balance of empty space. Avoid treating another artist's finished work as a template to reproduce exactly for a client.
Reference upload and Upload your design serve different jobs. A reference helps guide a new generation. Upload your design loads existing artwork so you can continue directly to placement or stencil creation. If you already like the drawing, you do not need to spend another generation simply to reach those tools.
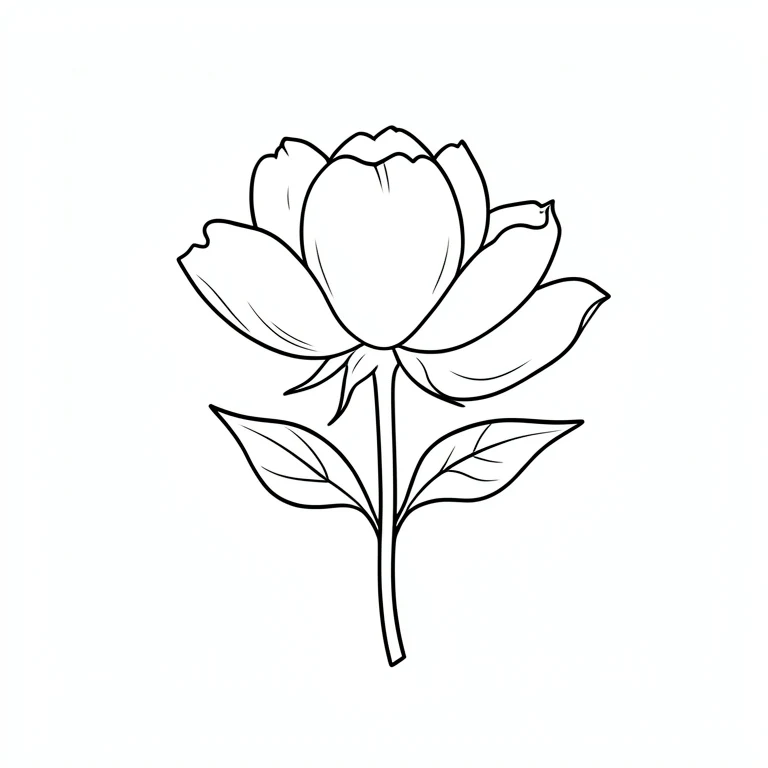
An actual local-model result from a peony prompt. The simplified flower is a concept, not a botanical reference or a guaranteed response.
Review the result before generating another version
Look first at the silhouette and main subject. Then inspect the internal shapes at a useful zoom. Check that petals connect sensibly, repeated elements remain consistent and any requested symmetry looks intentional. Count important objects rather than assuming the image followed a number in the prompt. A small thumbnail can hide awkward intersections that become obvious in the download.
Change one variable for the next attempt. If the flower is too dense, request fewer internal contours and more open space. If its direction is wrong, clarify the composition rather than adding several new motifs. Keep the previous download when it contains something worth discussing. Multiple generations are alternatives, not an edit history with a promise to preserve every earlier feature.
Review the task cost shown beside Generate Tattoo before submitting. Free allowances and costs depend on the current account settings; the pricing page explains them. Creating a realistic preview or a new stencil is a separate task. Comparing downloaded artwork or moving an existing design in try-on does not require another AI design generation.
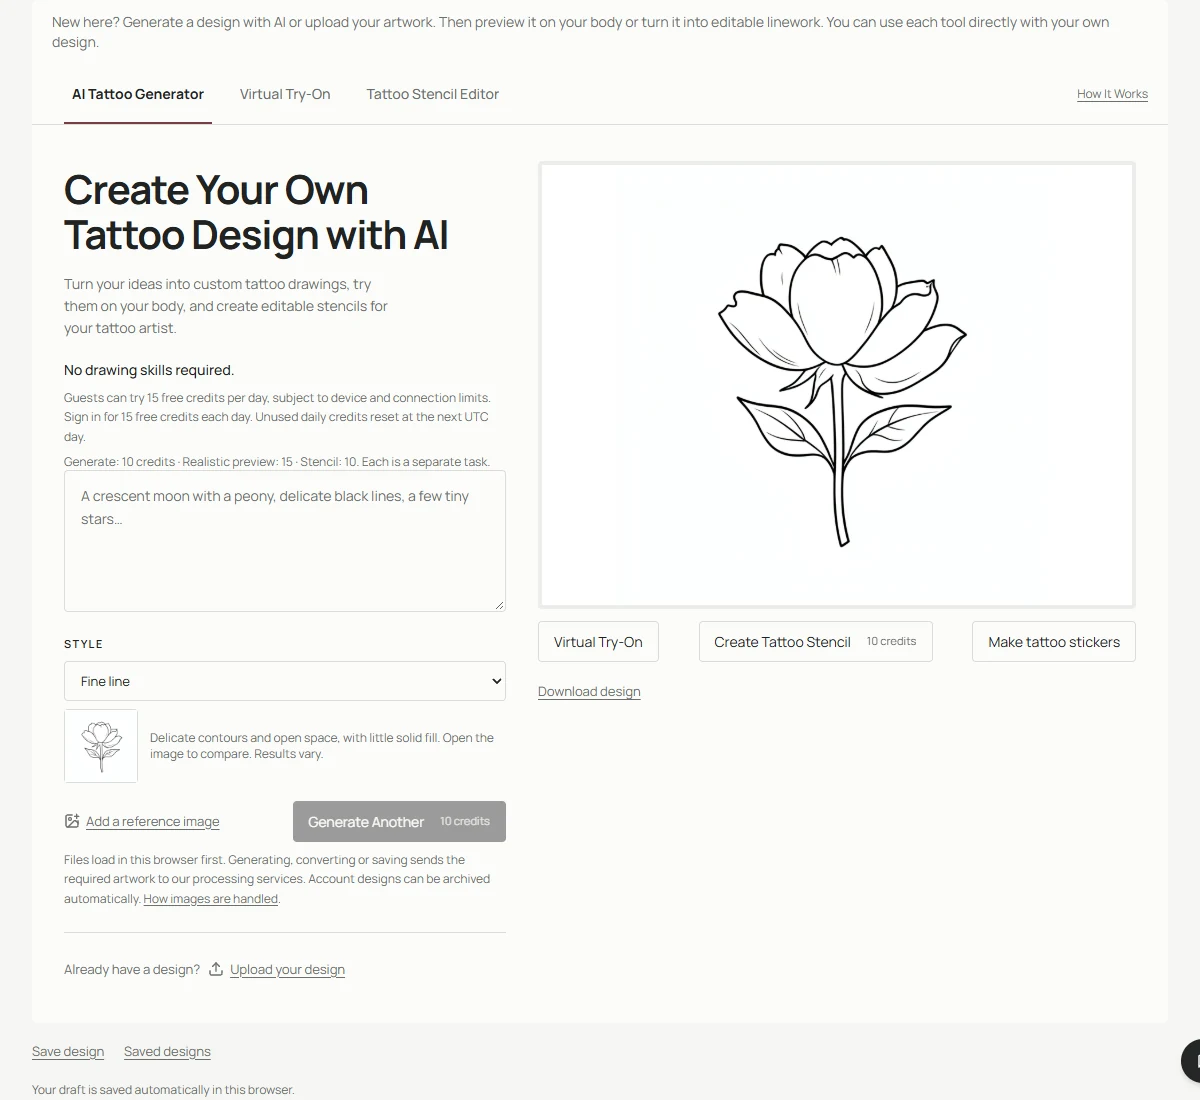
Keep the original artwork before moving into placement or linework.
Give your artist a useful reference
Save the design image together with a short brief: the subject, preferred style, approximate body area and two or three details you want to keep. If a feature is uncertain, mark it as a question rather than silently accepting it. Your artist can advise which lines need simplification and how the idea should be redrawn for a specific composition.
AI generation does not establish exclusive rights in an image. Use references responsibly and review the service terms before commercial use. Keep artwork, placement mockups and stencils as separate files so their purposes remain clear. A body preview communicates an arrangement; a stencil carries editable outlines; neither replaces the original design reference.
Common questions
Do I need drawing skills?
No. A specific subject and clear preferences are enough to start. Drawing experience can help you evaluate a result, but the prompt can use ordinary language.
Can I keep an existing design instead?
Yes. Upload your design to skip generation and continue with try-on or stencil creation. Use artwork you own or have permission to process.
Continue with your design
Use the illustrated Tattoo Drawings walkthrough for the complete product workflow, or open the studio with your own idea. Browse all tattoo design guides for related tasks.
Next: Compare Fine Line and Blackwork using the same subject.