AI Tattoo Generator: How to Create a Custom Design
Build a useful tattoo concept from a clear prompt, compare styles and prepare a reference your artist can refine.
- #AI tattoo design
- #Prompts
- #Tutorial
Blog
Start with the complete walkthrough, or choose a focused guide to design, placement, style or printing.
New here? Follow the illustrated three-step studio walkthrough.
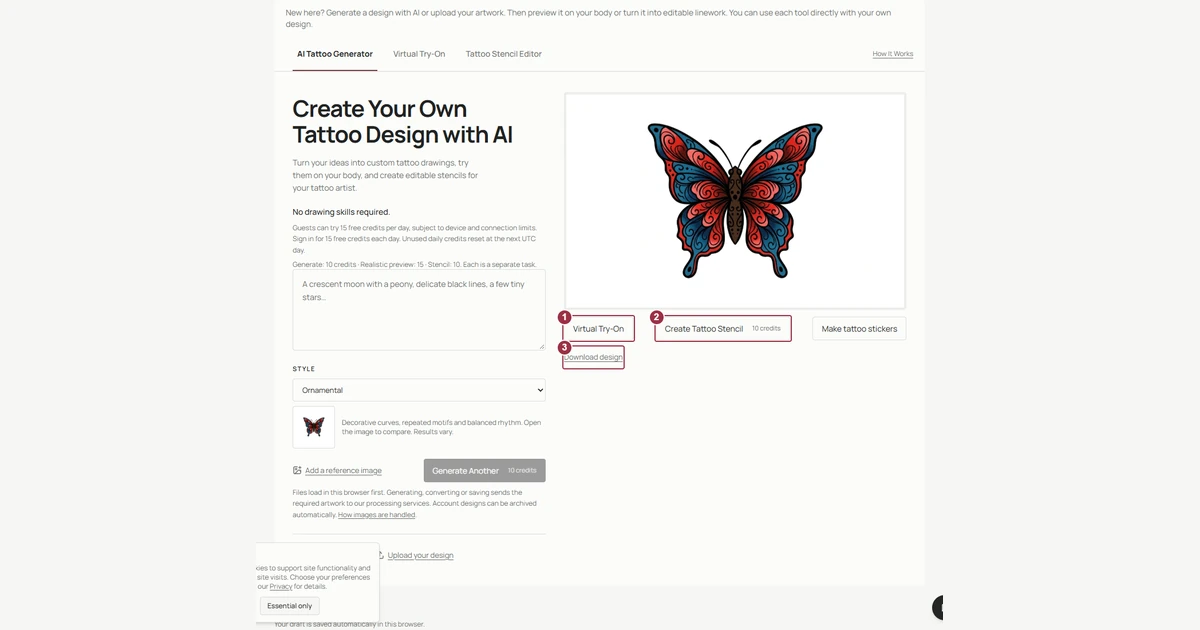
Build a useful tattoo concept from a clear prompt, compare styles and prepare a reference your artist can refine.
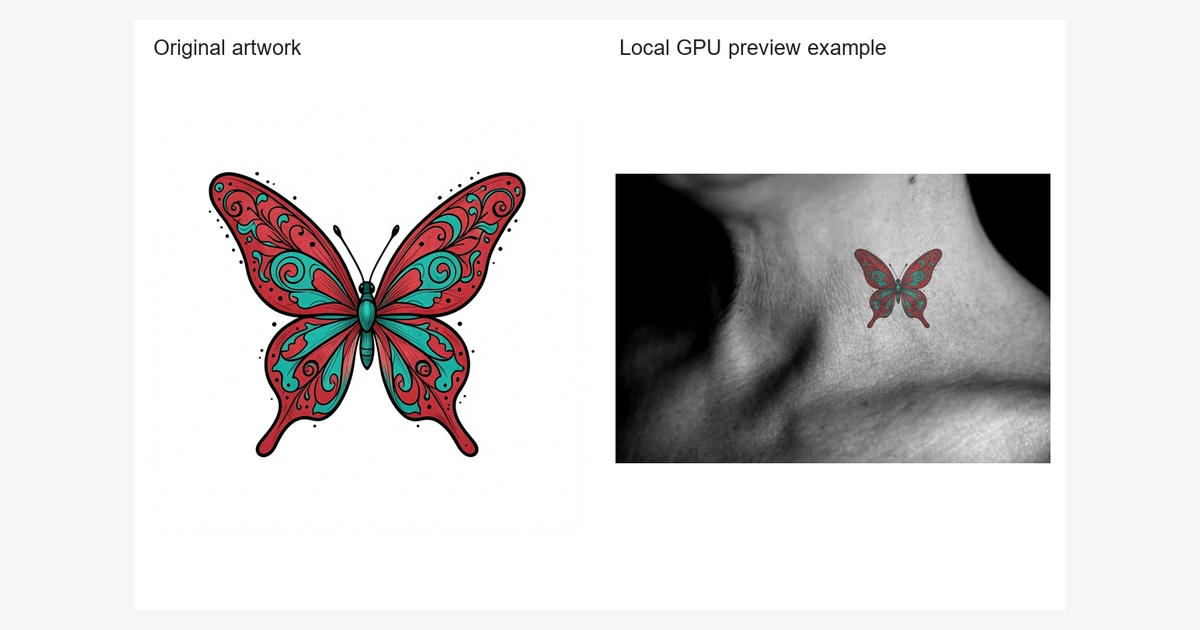
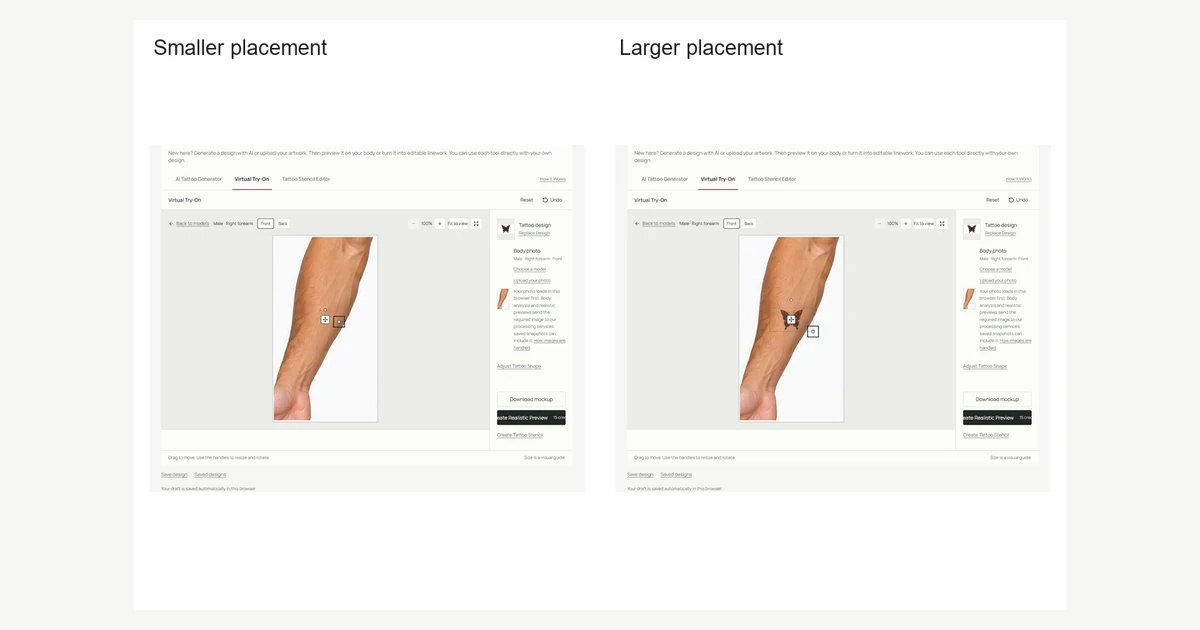
Compare placement on a preset model or your own photo, then save a mockup or an optional processed preview.
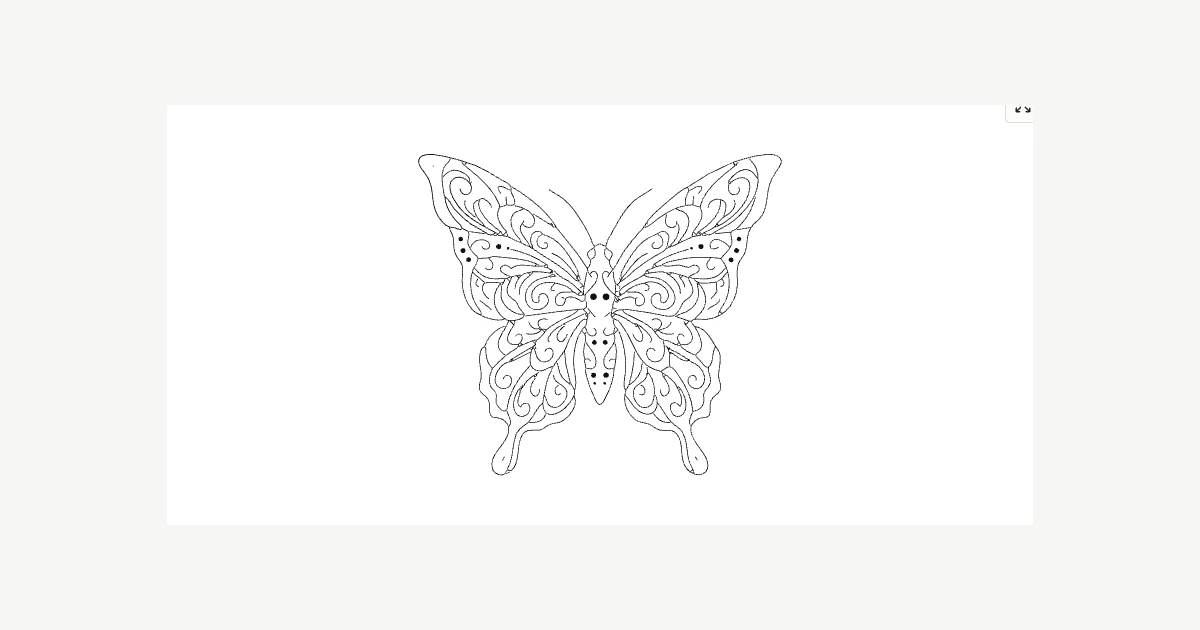
Convert artwork into black-and-white linework, inspect the result and edit paths before choosing an export.
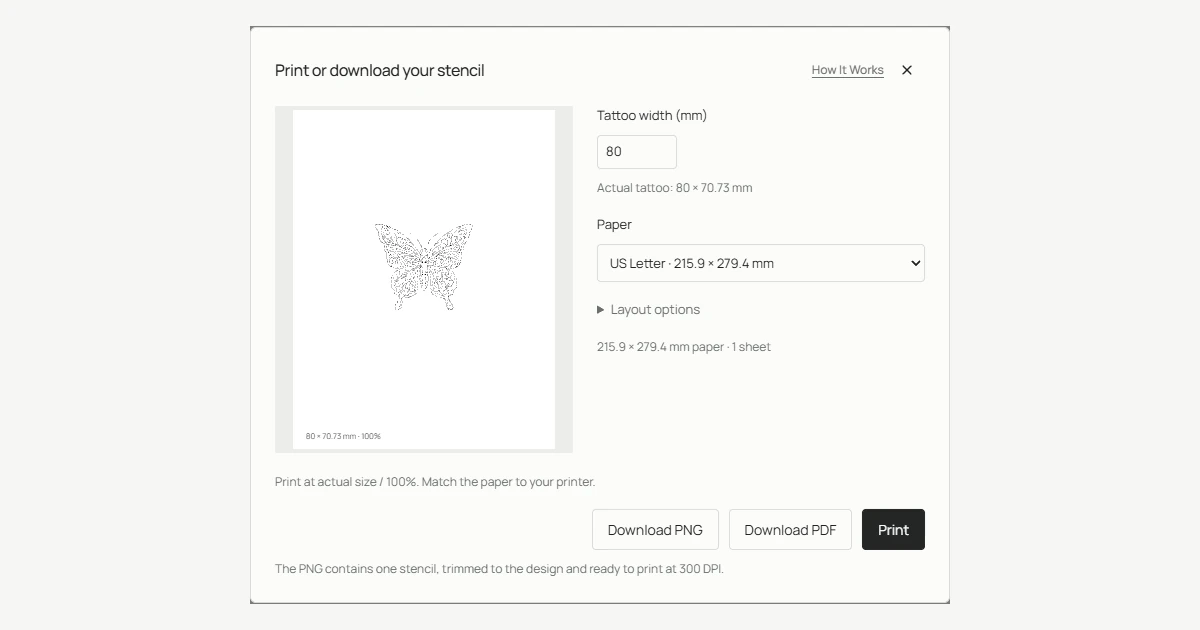
Choose physical dimensions, check paper layout and export a stencil without accidentally changing its scale.
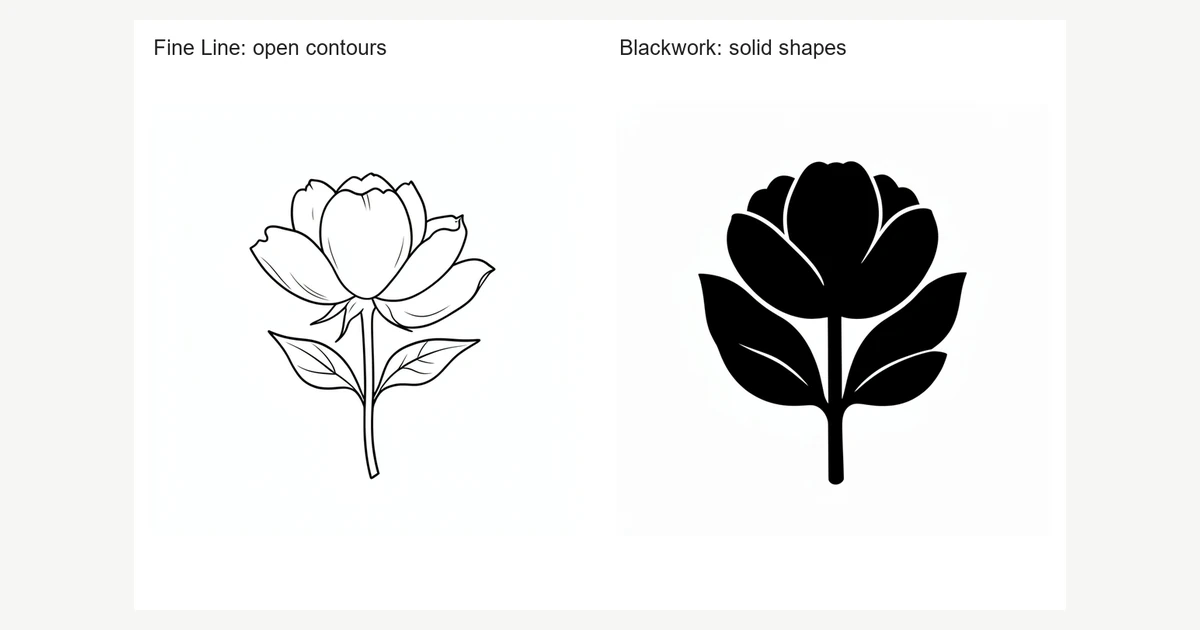
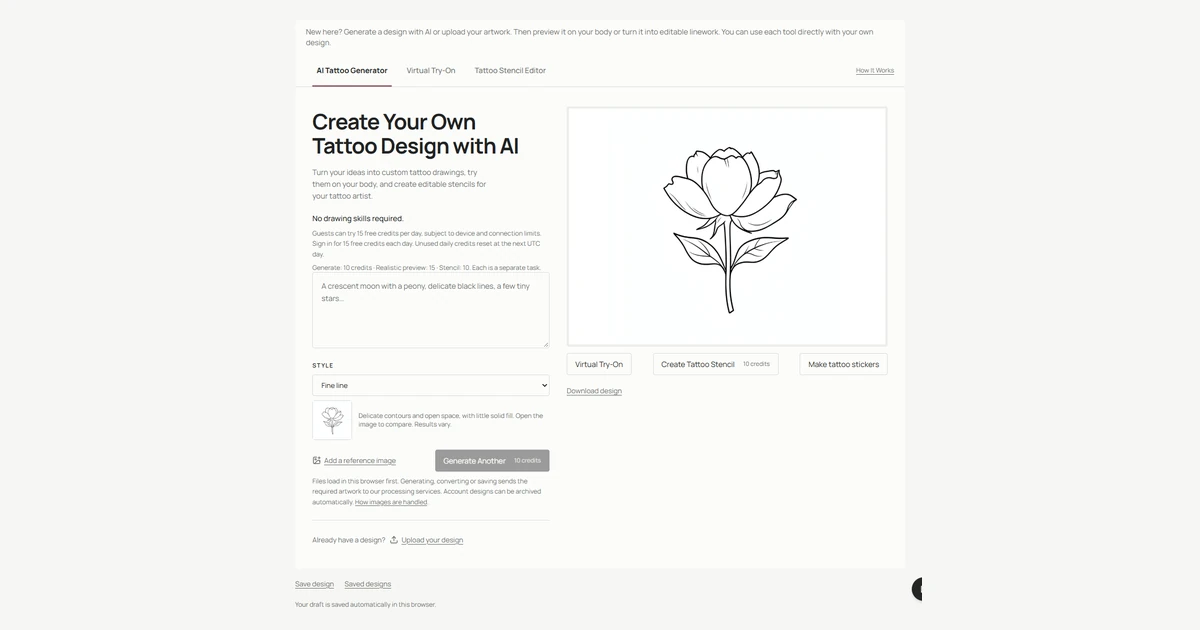
Compare the same peony subject in two directions, focusing on contours, dark shapes and usable negative space.
Use consistent photo comparisons and physical print dimensions to prepare a clearer placement discussion with your artist.
Follow an illustrated walkthrough to generate a tattoo, try it on a model or your own photo, and edit a stencil for printing and transfer.