To prepare a tattoo stencil for printing, finish the linework, set the desired physical width in millimeters and open Print & download. Match the paper size to the printer and export the format you need. Print at actual size or 100%, then measure a test copy. A correct preview can still print at the wrong size if another application applies Fit to page or similar scaling.
- Set the physical width. Open the studio and open your stencil in Tattoo Stencil Editor. Set the print width in millimeters and check the centimeter and inch equivalent.
- Review the paper layout. Match paper, orientation and copies, checking the page count before export.
- Verify a test print. Use actual size or 100%, measure the design and confirm its direction before preparing transfer paper.
Prepare a tattoo stencil for printing at a known width
Start with the finished linework rather than a body preview. The preview is useful for discussing placement, while the stencil file controls a flat design's dimensions. Inspect the paths before committing to a print size. Check that important contours remain distinct and that no stray mark or unwanted page border will be included in the output.
Enter Print width in the editor. The studio stores this dimension in millimeters and displays a conversion beside it. For example, 80 mm equals 8 cm, or approximately 3.15 inches. A millimeter measurement is a physical dimension, not a count of image pixels. Increasing a photo's apparent size on screen is a different operation.
The chosen width applies to the design's overall bounds. Check its height as well, especially for a tall motif. A short, wide flower and a tall branch can have the same width while occupying very different areas. Make a note of both dimensions when sharing a proposed size with your artist rather than describing it only as small or medium.
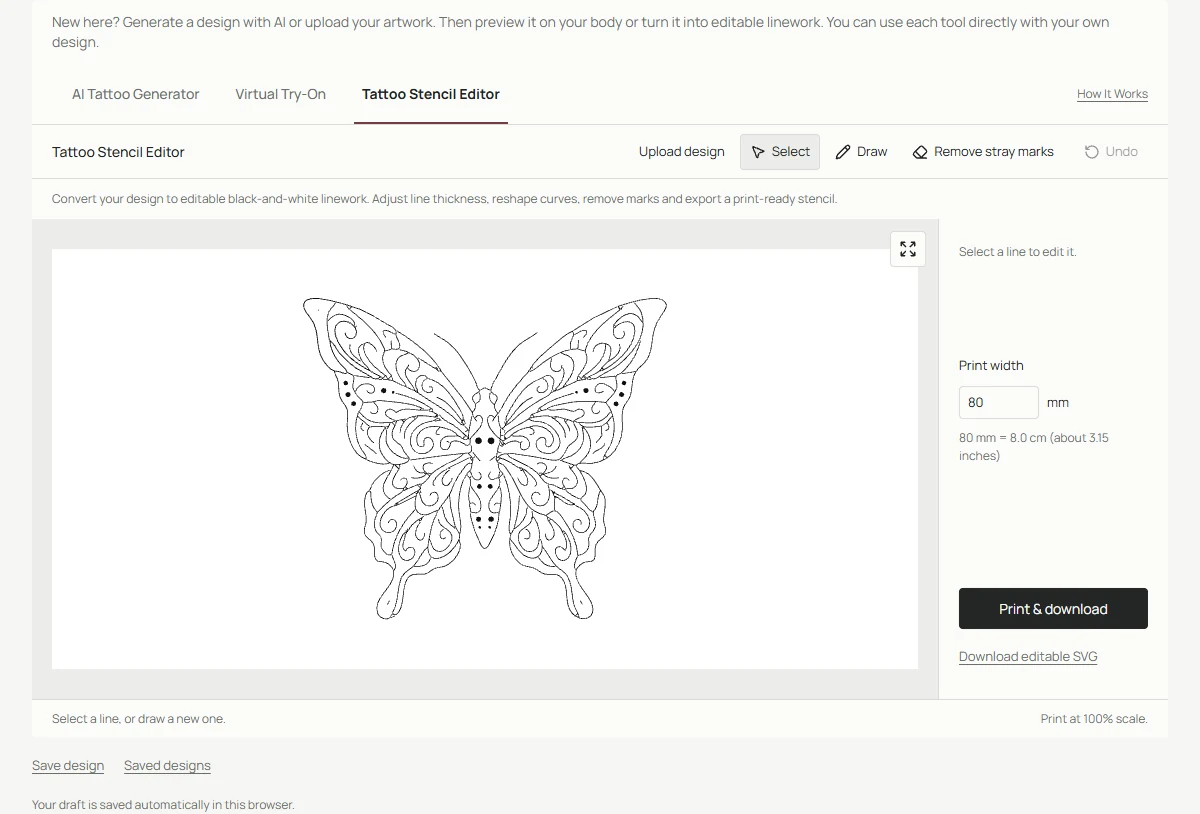
80 mm is 8 cm, approximately 3.15 inches. Check the design's height as well.
Check paper, copies and orientation
Open Print & download and select the paper that matches the intended output. The dialog shows the design on a page, making it easier to spot a layout that needs attention before saving a file. Compare the paper selection with the actual printer settings; a mismatch can introduce automatic resizing even when the artwork dimensions were entered correctly.
Use Layout options when you need a different orientation or multiple copies. Check the number of sheets for a design larger than one page. Do not assume a design that fills the preview will fit on a single physical sheet. Review margins and page boundaries so an important contour is not unexpectedly divided or clipped.
A repeated-copy layout can save space, but each copy still needs a useful separation and an identifiable direction. Check the final preview after changing the copy count or orientation. If the arrangement is intended for a particular transfer printer, follow that device's paper and feed instructions rather than assuming an ordinary office-printer layout is interchangeable.
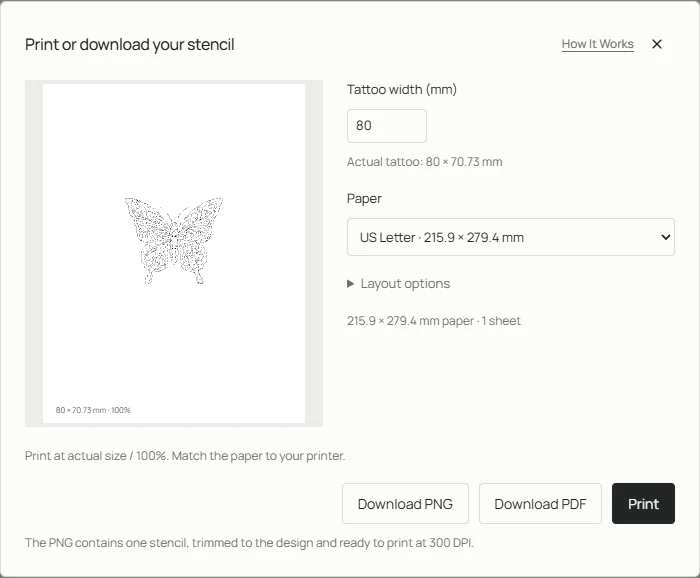
Check the actual dimensions and page layout before exporting.
Choose PDF, PNG or SVG for the next step
Download PDF keeps the selected paper layout, making it a useful choice when the next step is printing the sheet arrangement. Open the exported file and check the page before using transfer paper. A PDF is a container for a document layout; the viewer can still shrink or enlarge it at print time if its scaling settings request that behavior.
Download PNG exports a cropped stencil at the selected width and 300 DPI. Because it is an image rather than a paper-layout document, another application may place it at a different size. Confirm the physical dimensions in that application. Do not infer the intended width solely from how large the image looks in a photo viewer or a browser tab.
Download editable SVG retains the linework for further editing. It is useful to keep alongside the printing file, but it is not a promise that every downstream program will interpret page layout identically. Choose the format required by your artist or printer workflow, and preserve an original copy before making changes in another application.
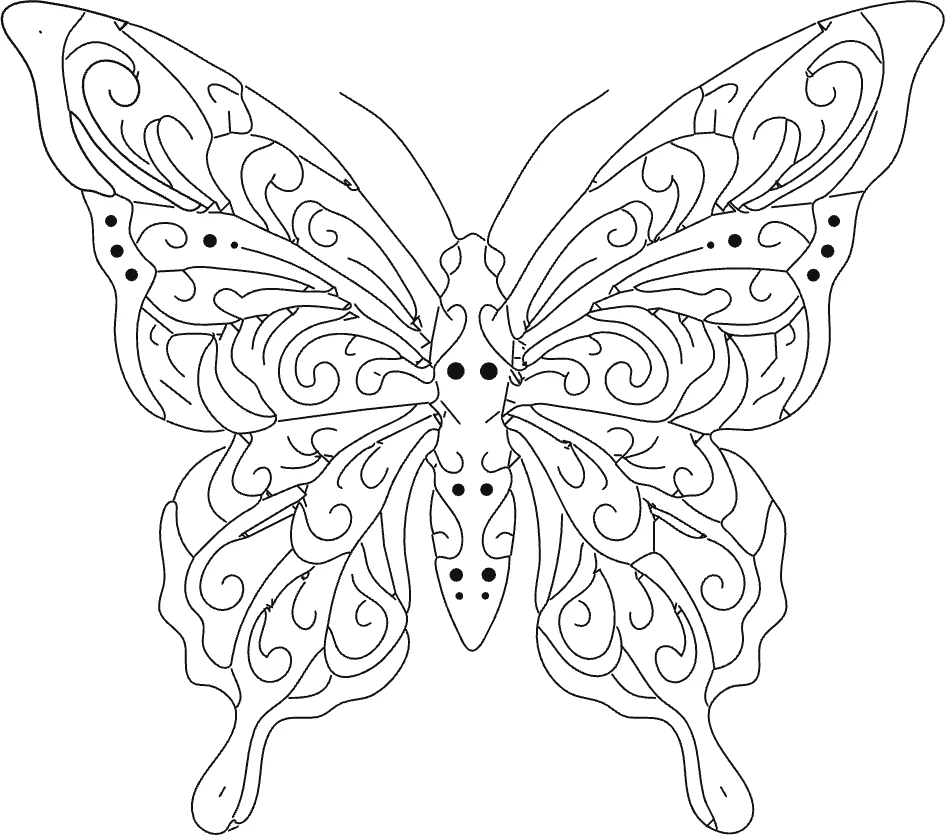
Keep an editable source and a printing file. Their purposes are different.
Print a test copy and confirm direction
In the print dialog, choose actual size or 100%. Turn off Fit to page, Shrink oversized pages or any similar automatic adjustment unless you deliberately want a different size. Confirm the correct paper again. The names of these settings depend on the viewer and printer, so inspect the final print preview instead of relying on one saved preference.
Measure the printed design with a ruler. If an 80 mm design is smaller, check scaling before changing the editor's width to compensate. Otherwise you can hide the real cause and create a file with misleading dimensions. A test on ordinary paper is a practical way to confirm size without spending transfer materials on an incorrect layout.
Confirm the orientation of text and asymmetrical motifs. Whether mirroring is needed depends on the printer and transfer workflow, so follow the equipment and paper instructions. Share the checked dimensions and file with your artist for final review. This guide covers file preparation and printing checks, not the application of a tattoo or a substitute for professional technique.
Common questions
Why did a correctly sized PDF print smaller?
The viewer or printer may have applied page fitting. Recheck actual size, paper selection and the print preview, then measure another test copy before altering the artwork dimensions.
Does the photo preview set the print size?
No. The try-on controls change visual placement. The stencil editor's millimeter width controls the intended flat output dimensions.
PDF viewers may apply scaling; compare your settings with Adobe's actual-size and scaling instructions.
Continue with your design
Use the illustrated Tattoo Drawings walkthrough for the complete product workflow, or open the studio with your own idea. Browse all tattoo design guides for related tasks.