Choose tattoo size and placement by comparing the same design in a few deliberate arrangements, then check a flat print at the intended physical width. A photo mockup is useful for visual balance; it is not a ruler. Keep the subject, viewing conditions and file versions consistent so you can tell whether you prefer a different location, a different size or a simpler drawing.
- Compare a small set of options. Open the studio and choose Virtual Try-On. Use the same artwork and photo, changing one placement or size at a time.
- Check the composition. Review the wider body view as well as close-up details and the design's direction.
- Confirm physical dimensions. Set a stencil width, print at actual size and discuss the result with your artist.
Scroll horizontally to see all columns.
| Millimeters | Centimeters | Approximate inches |
|---|---|---|
| 50 mm | 5 cm | 1.97 in |
| 80 mm | 8 cm | 3.15 in |
| 100 mm | 10 cm | 3.94 in |
How to choose tattoo size and placement with comparable mockups
Start with one design you want to evaluate. Save the original artwork so it remains the common reference for every mockup. If you change the subject, line treatment and location at once, it becomes hard to tell what caused a preference. A simple naming scheme such as forearm-small and forearm-large can keep your comparisons understandable.
Choose a built-in model to explore a general area, or use a clear photo of your own body when the comparison needs to be more personal. The preset models are reference views, not measurements of your anatomy. A photo also introduces perspective: a surface closer to the camera can appear larger than another part of the same body.
Compare two or three arrangements before generating many alternatives. Place the motif, rotate it deliberately and save a mockup. Then change only the size or location. Use the wider view to check the relationship with the body rather than judging everything from a tight crop. Keep the crop and zoom consistent between saved comparisons when possible.
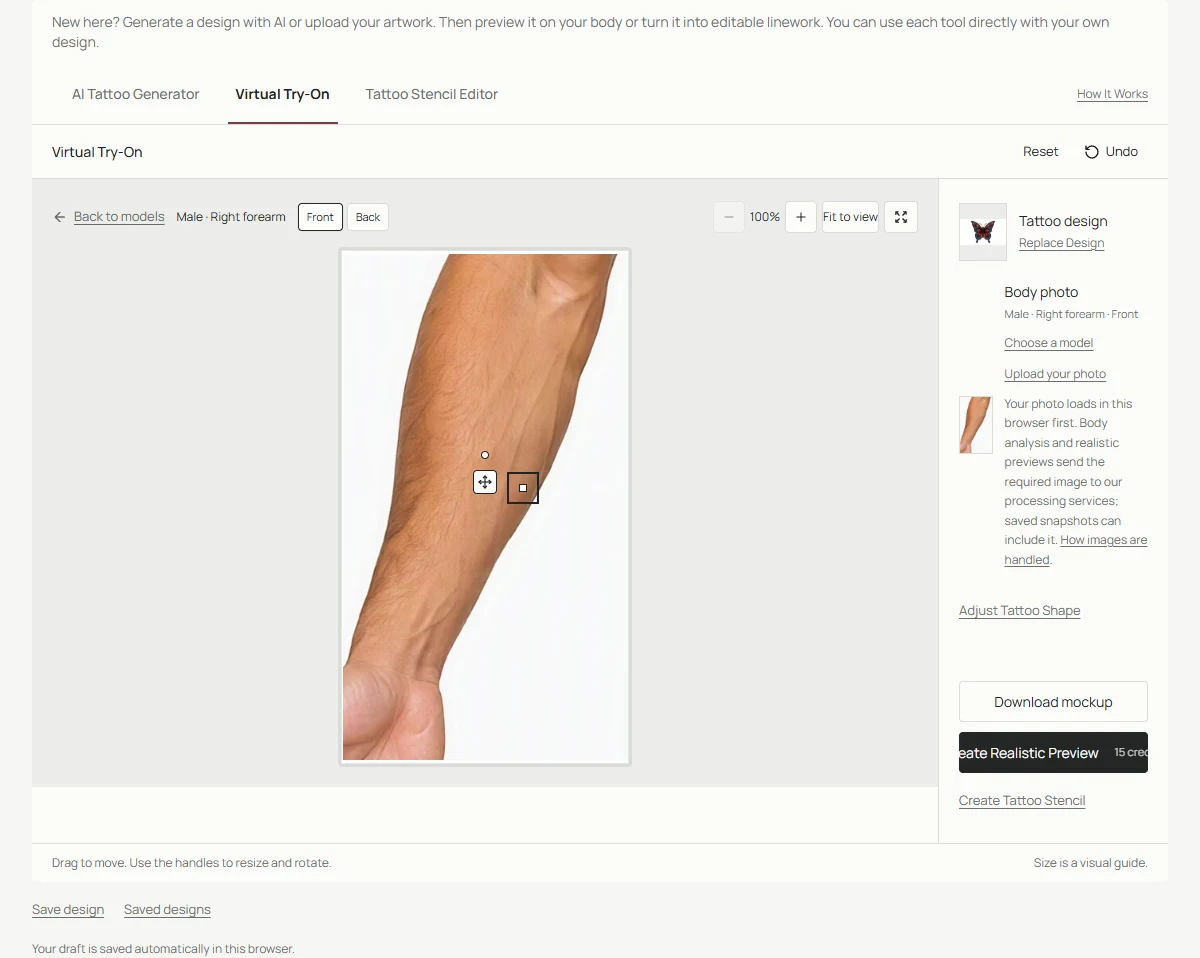
First comparison: a smaller arrangement using the same artwork and body view.
Check direction, surrounding space and the whole motif
A tall branch, a circular flower and a wide butterfly have different compositions even when their widths match. Look at the direction of the main forms. A design can follow the visible length of a limb, sit across it or create a deliberate contrast. Save examples that make the alternatives clear instead of relying on a memory of how the previous version looked.
Watch the space around the motif. Moving a design slightly can change how close it appears to a joint, a clothing edge or another visible feature. The tool only knows what the photograph shows; it cannot explain every change that would happen with movement or another camera angle. Use another suitable photograph when the first view leaves an important question unanswered.
Keep the entire design visible during a final check. A close-up can make an attractive detail seem more important than the overall shape. Fit to view helps you return to the whole photograph. Adjust Tattoo Shape can refine a visual fit, but avoid stretching recognizable details merely to fill the chosen region. Bring any uncertain distortion to your artist's attention.
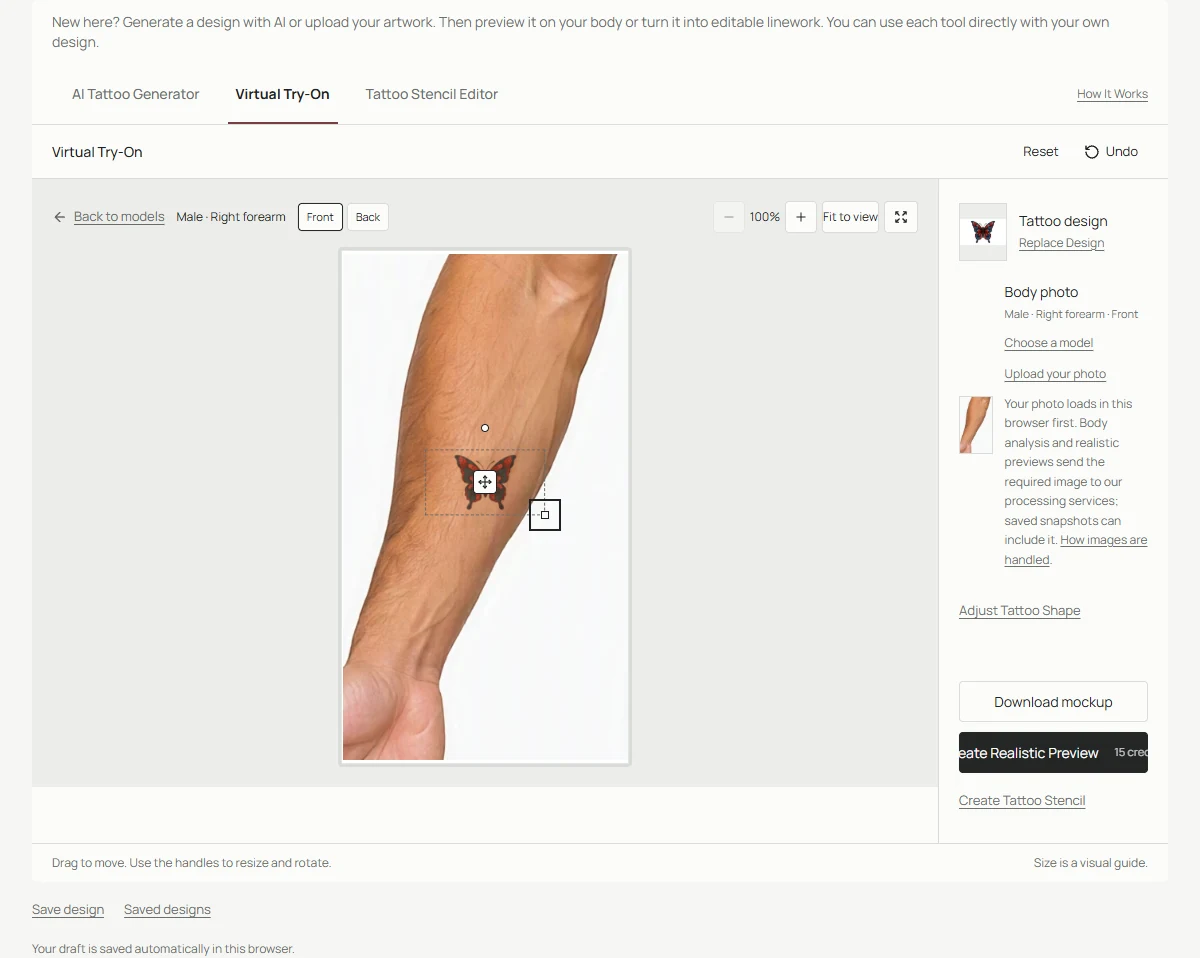
Second comparison: size changes the visual balance even when the design and photo stay the same.
Separate visual size from physical print size
The width of a tattoo in a photograph is a visual setting. Camera distance, cropping and perspective all influence its apparent dimensions. Without a reliable measurement reference and suitable geometry, a photo is not a dependable way to specify millimeters. Do not tell your artist that a mockup establishes an exact width simply because it looks convincing on screen.
For a flat physical reference, create or open the stencil and enter Print width in millimeters. Check the centimeter and inch conversion beside it. An 80 mm width equals 8 cm and approximately 3.15 inches, regardless of how large the browser window is. The design's height follows its proportions, so consider both dimensions when comparing it with a proposed area.
Print at actual size or 100% and measure the result. Automatic page fitting can change the output, so a quick ruler check matters. A paper copy is a discussion aid, not an instruction to apply anything to skin. Share the checked dimensions, the artwork and the placement mockup as separate references so your artist can evaluate each part of the proposal.
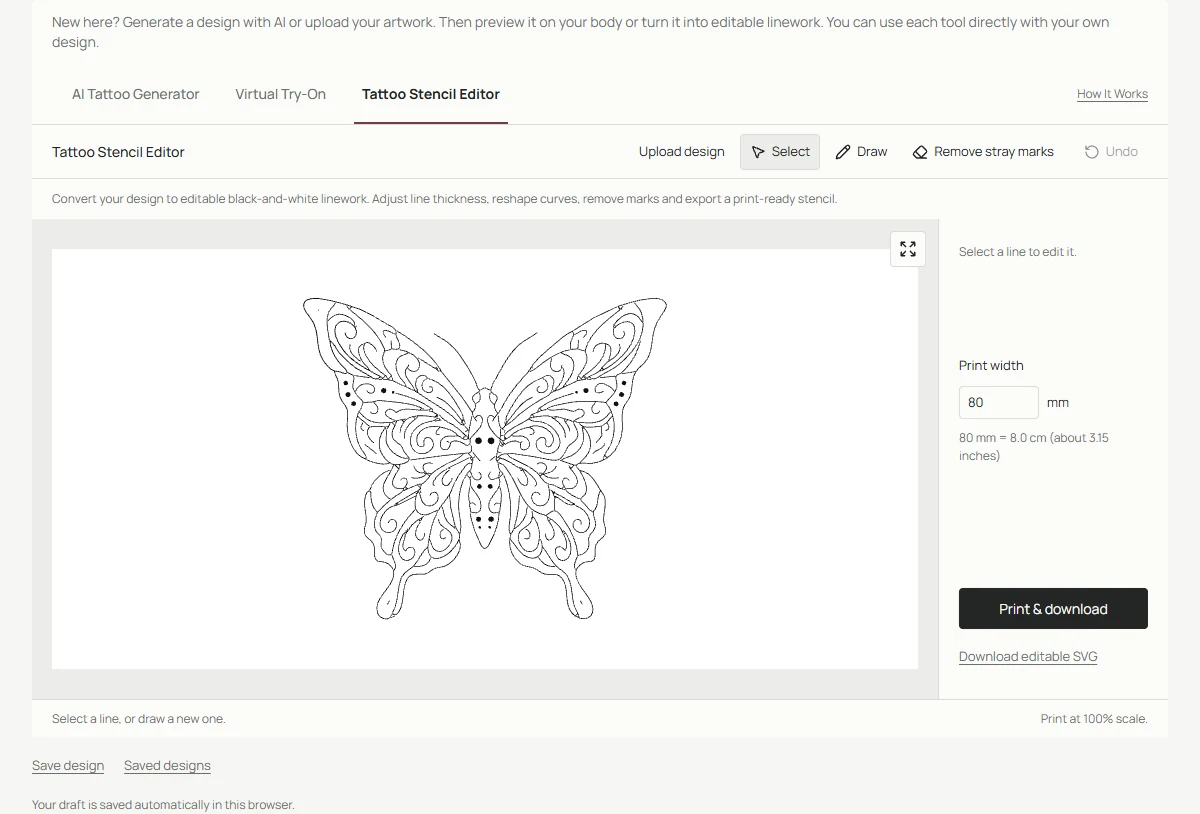
Use the stencil's physical width for print preparation. The photo mockup remains a visual reference.
Make the final discussion specific
Write down what each comparison answers. For example: I prefer the higher location, the smaller width and the original wing shape. This communicates more than a folder containing many unlabelled versions. If the smallest version becomes visually crowded, ask whether the drawing should be simplified rather than assuming the answer is only to make every line thinner.
Discuss the artist's proposed redraw and dimensions before treating a preview as final. Placement decisions can involve your existing artwork, personal preferences and practical details that a web tool does not evaluate. Keep questions about suitability, technique or the body for a qualified professional rather than drawing conclusions from an AI-generated image.
Common questions
Is there one correct size for a flower or butterfly?
No universal number follows from the subject alone. The composition, detail and intended location all matter. Use specific dimensions and ask your artist to evaluate the actual drawing.
Should I blend every size comparison?
No. Download mockup is enough to compare the arrangements first. Request a processed preview only when that additional view helps answer a particular question.
For physical units, consult NIST's metric conversion table.
Continue with your design
Use the illustrated Tattoo Drawings walkthrough for the complete product workflow, or open the studio with your own idea. Browse all tattoo design guides for related tasks.