Tattoo Stencil Maker
Upload artwork or reuse a design from the generator. Create the stencil, refine its linework, and choose a physical print width before you export.
AI Tattoo Generator for Custom Tattoo Designs
Describe an idea, create a custom tattoo design, try it on a photo, and export editable linework.
Choose a visual direction, or let the AI choose. Describe the subject and details in your prompt.
Files load in this browser first. Generating, converting or saving sends the required artwork to our processing services. Account designs can be archived automatically. How images are handled.
New here? Generate a design with AI or upload your artwork. Then preview it on your body or turn it into editable linework. You can use each tool directly with your own design.
No drawing skills required.
Free daily credits: 15 for guests · 15 with an account. Allowance details.
Generate: 10 credits · Realistic preview: 15 · Stencil: 10. Each is a separate task.
Where would you like your tattoo?
Choose a preset model and body area, or view the full-body model.
Convert your design to editable black-and-white linework. Adjust line thickness, reshape curves, remove marks and export a print-ready stencil.
Restoring your draft…
See what the tattoo stencil maker keeps from the original
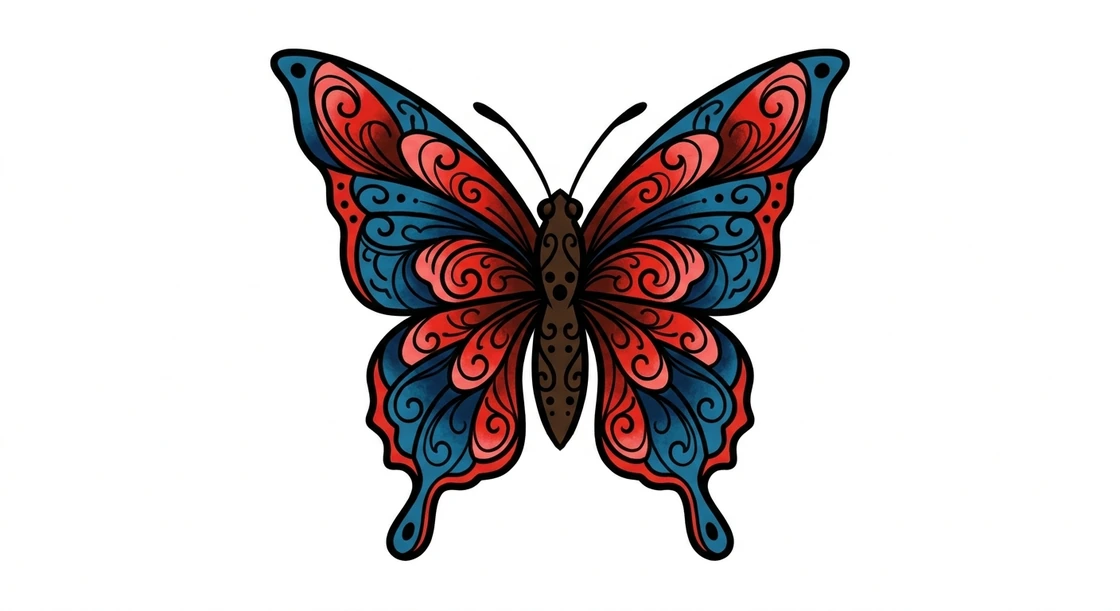
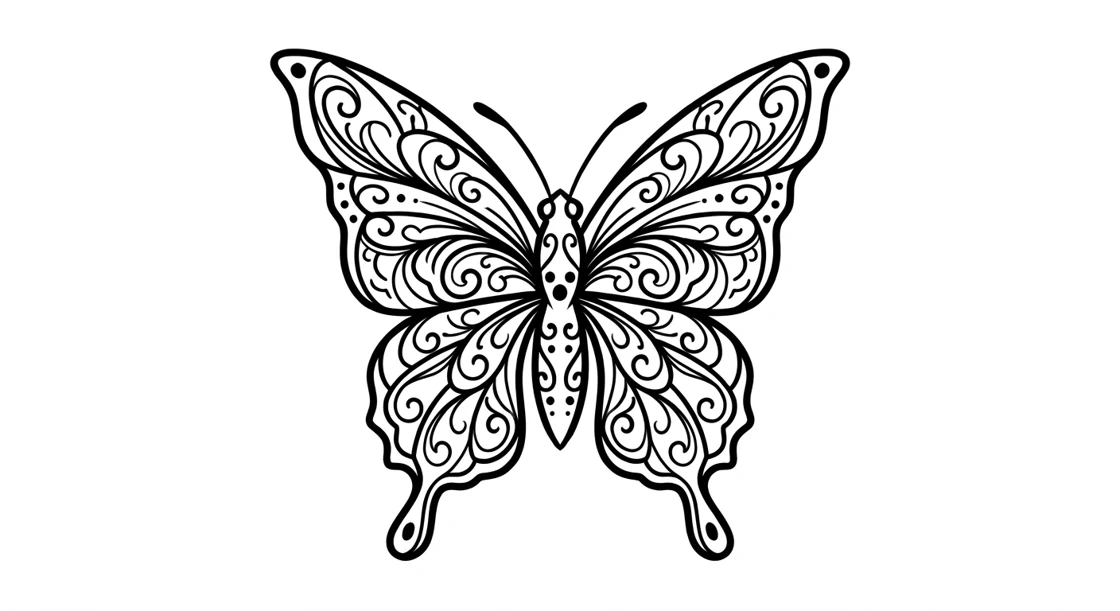
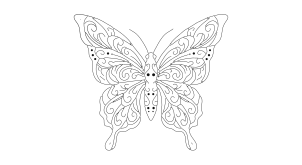
The same butterfly appears as colored artwork, a generated linework image and a cleaned editable stencil. Compare the wing contours, curls and dots across the three stages. Keep the original nearby when you decide which marks matter for transfer.
How to make a tattoo stencil from an image
Upload a clear design
Choose Upload design and pick a PNG, JPEG or WebP with the whole motif visible. You can also switch from the generator or try-on workspace with a design already loaded. If you have several versions, start with the one whose outline you want to keep. Use the artwork itself when you have it available.
Create the linework
Choose Create Tattoo Stencil when the source is ready and check the displayed credit cost. The maker produces a black-and-white image, then prepares vector paths for editing. Compare the first result with the original. Inspect the silhouette, the spacing between nearby lines and any small marks that help identify the subject.
Edit individual paths
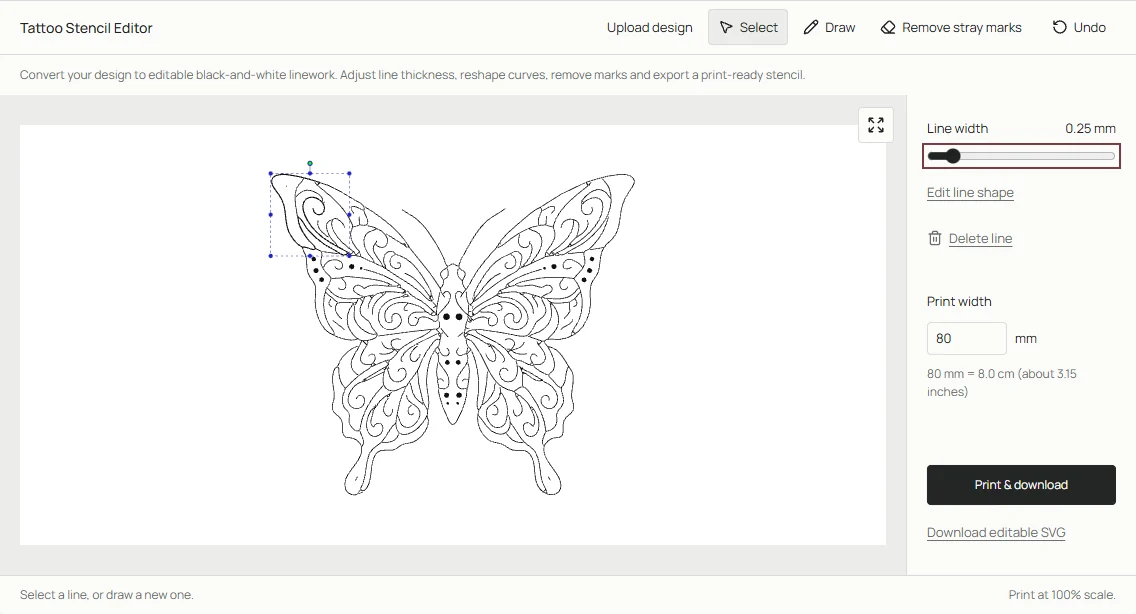
Use Select to adjust line thickness, reshape a curve or remove a distracting path. Use Draw to add a missing mark. Remove stray marks can clear small specks after conversion. Zoom out after each edit to see how it affects the design, and use Undo if cleanup removes an intentional detail.
Set the width and export
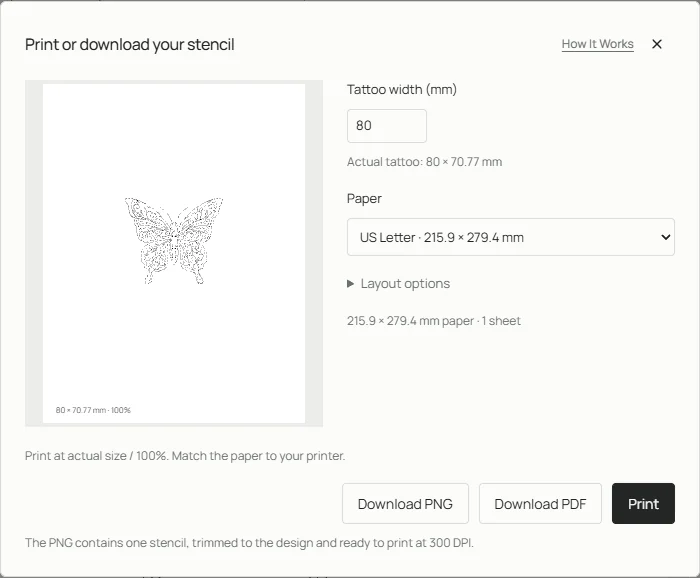
Set the physical width in millimeters and open Print & download. Select the paper size, inspect the layout, and export a PDF or PNG. Use Download editable SVG when you want to retain the paths for further editing. Print a test sheet at actual size or 100% and measure the design before preparing a transfer.
Refine the lines and check the print size
Separate structure from shading
Start by identifying the edges that tell you where the main shapes begin and end. Texture, color shifts and small shadows can produce extra marks when converted. For a shaded design, keep the original nearby so the artist can see the intended tonal changes. A stencil can carry selected landmarks while the reference artwork shows the remaining detail.
Inspect detail at the intended width
A crowded area may look clear at high zoom and become difficult to read on a small print. Check repeated curls, closely spaced parallel lines, inner corners and lettering at the width you plan to use. If there is too little space, remove secondary marks or discuss a larger placement with the artist. Keep a copy of the original before making substantial edits.
Check the sheet as well as the artwork
Start with the paper size you will actually load into the printer. Leave room around the outline and check the preview for clipped marks, especially at the ends of a long design. If you change the width, review the proportions again before exporting. Label your files with the physical width and keep the editable version separate from the print copy. If the printer scales the first sheet, correct the print settings and measure a second sheet before handing it off.
Choose the file for your next step
Keep SVG for editing individual paths. Use PDF for a paper layout and PNG for a raster copy. In the print dialog, check whether the design fits the paper and whether any mirroring is appropriate for your transfer process. Ask your artist which paper, output format and orientation they prefer before preparing the final sheet.
Frequently asked questions
Can I make a stencil from a photograph?
Yes, if it is a supported image. Strong shadows, textured backgrounds and low contrast can add unwanted contours. Start with a sharp crop around the subject and compare the generated linework with your source before deciding what to remove.
Why do I see an image before editable lines?
The black-and-white stencil image and its editable paths are produced in separate stages. If path preparation fails, you can keep the available image and retry preparation when the editor offers that option.
Will the stencil print at the exact size I enter?
The layout uses the specified physical width. Printing software can still scale the page. Select actual size or 100% instead of a fit-to-page setting and verify the result with a ruler on a test sheet.
Can I use the same stencil at two different widths?
Keep one editable SVG and make a separate print export at each width. Check smaller spacing and lettering again at the narrower size. A path that prints clearly on the larger sheet may need to be simplified on the smaller one.
Can I use a design I made in the generator?
Yes. Switch to the stencil editor from the same workspace to use the current design. If you tried it on a body photo first, the stencil uses the original design, so the photo and placement stay separate from the printed linework.