Tattoo Try On — Preview a Design on Your Body
Add a tattoo design and a photo of the area you want to ink, or start with a built-in model. Adjust the placement and compare how the design looks at different sizes.
AI Tattoo Generator for Custom Tattoo Designs
Describe an idea, create a custom tattoo design, try it on a photo, and export editable linework.
Choose a visual direction, or let the AI choose. Describe the subject and details in your prompt.
Files load in this browser first. Generating, converting or saving sends the required artwork to our processing services. Account designs can be archived automatically. How images are handled.
New here? Generate a design with AI or upload your artwork. Then preview it on your body or turn it into editable linework. You can use each tool directly with your own design.
No drawing skills required.
Free daily credits: 15 for guests · 15 with an account. Allowance details.
Generate: 10 credits · Realistic preview: 15 · Stencil: 10. Each is a separate task.
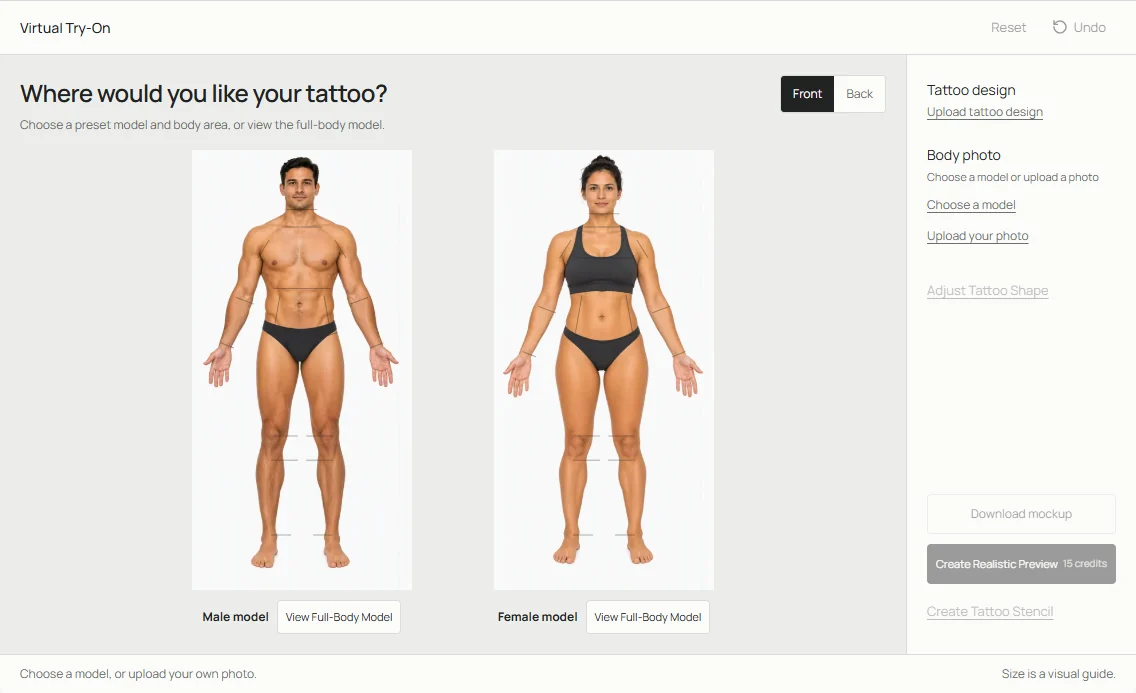
Where would you like your tattoo?
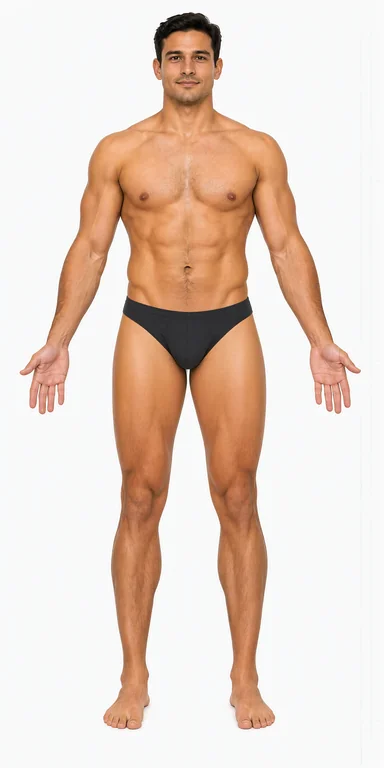
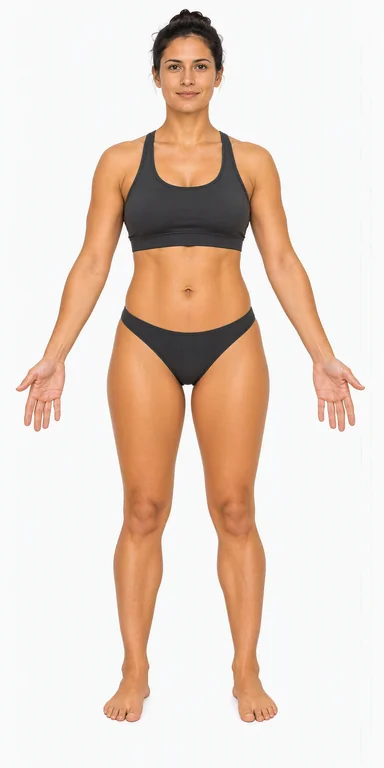
Choose a preset model and body area, or view the full-body model.
Convert your design to editable black-and-white linework. Adjust line thickness, reshape curves, remove marks and export a print-ready stencil.
Restoring your draft…
Compare a tattoo placement with a realistic preview
This is one butterfly, one placement and one source photo. Follow the three stages to see what changes. The placement preview puts the artwork where you set it. The processed version blends the design with the surface and lighting around it.
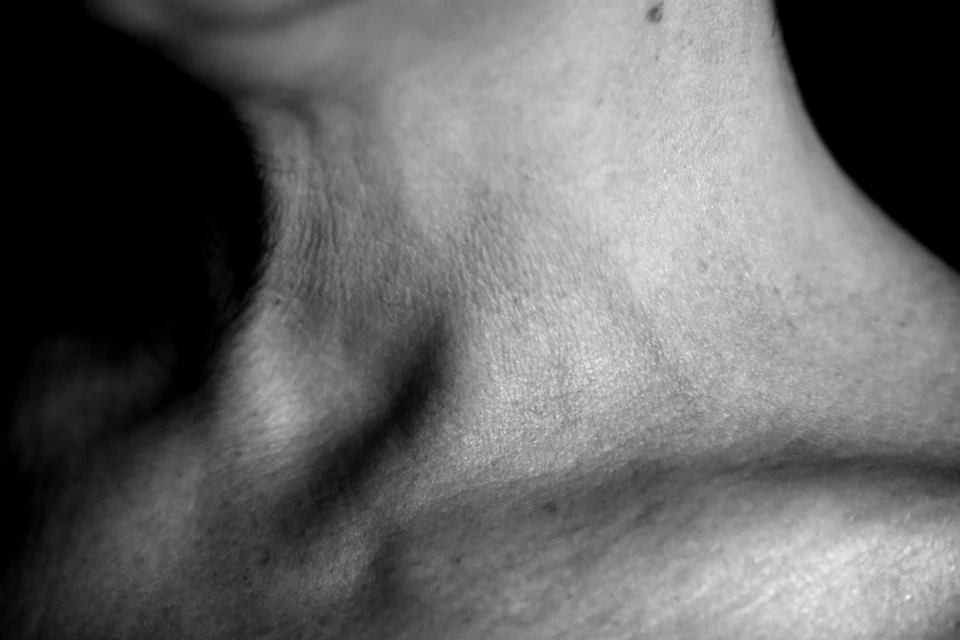
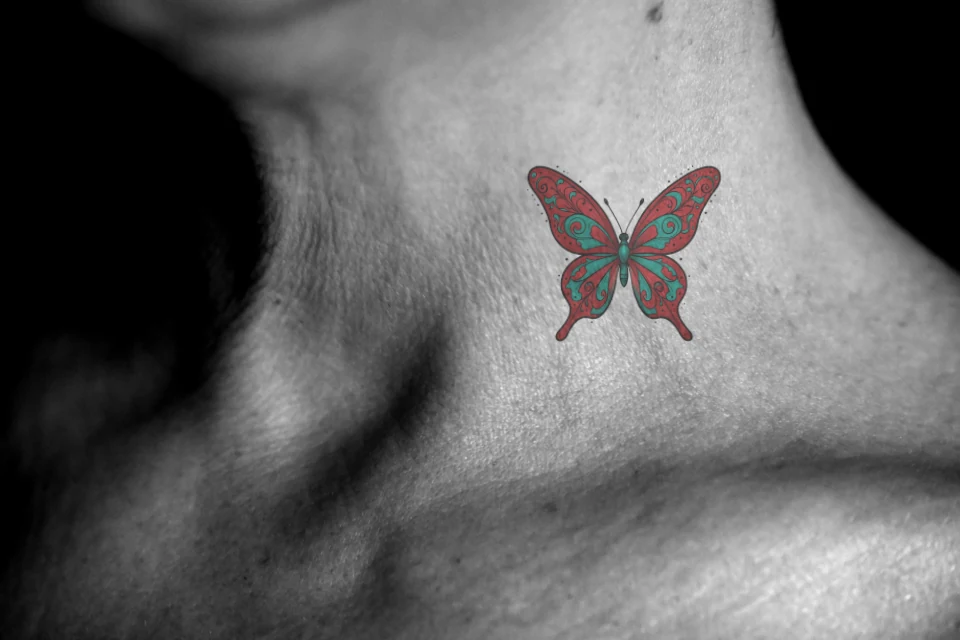
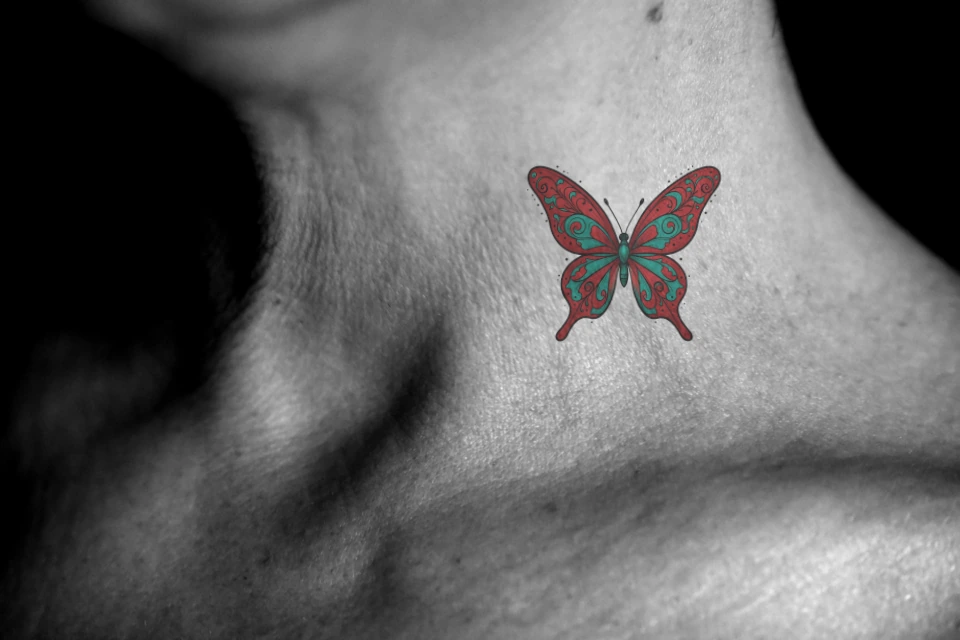
Photo by Elements Of This World under CC BY 2.0. Resized for display. Tattoo placement and blending added in the last two images.

How to try on a tattoo
Add the artwork
Choose Upload tattoo design and pick a PNG, JPEG or WebP. If you already have a design in the workspace, it carries into Try-On when you switch tabs. A single design with a clear outline and an uncluttered background is easier to place than a collage or a screenshot surrounded by other artwork.
Add a body photo or choose a model
Choose Upload your photo, read the processing notice and select a well-lit photo with the intended area visible. You can also choose a front or back view of a built-in model, then select an available body area. A close-up helps with precise placement. A wider view helps you see how the design relates to the whole area.
Move, size and rotate the tattoo
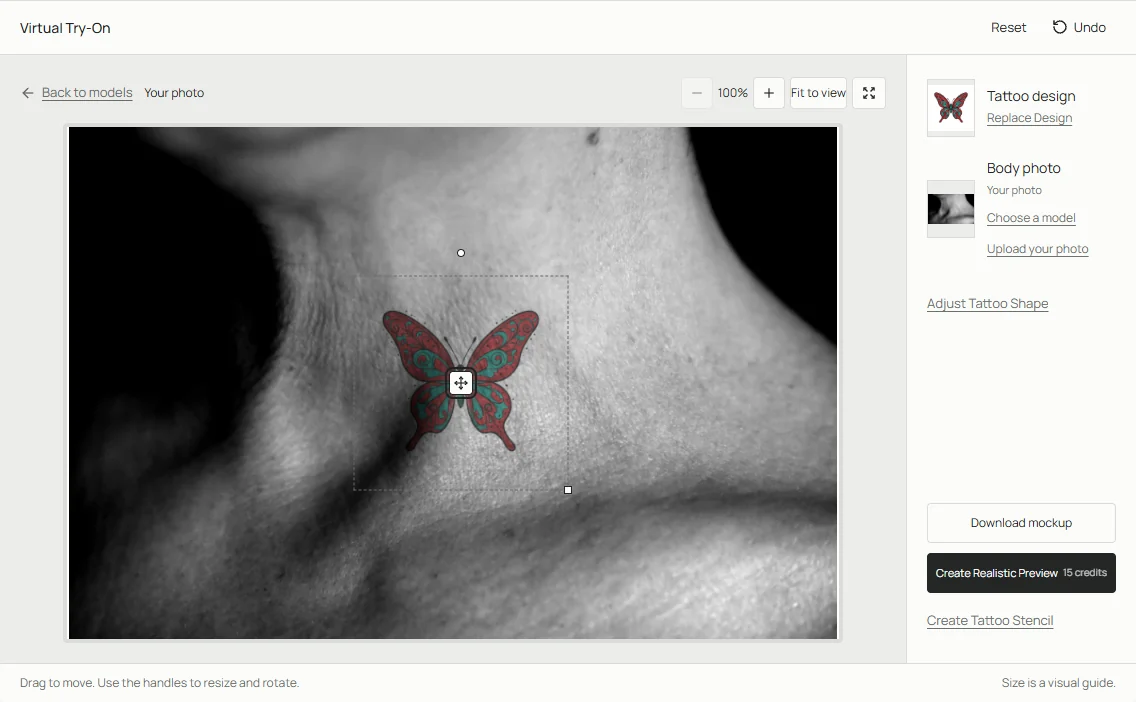
Drag the tattoo over the intended spot. Use the handles to resize or rotate it, and zoom in to inspect the edges. On a curved area, use Adjust Tattoo Shape to refine how the image sits. Fit the photo back into view before comparing placements so a tight crop does not make the design look larger than it is.
Save a mockup or make a realistic preview
Choose Download mockup to save the placement you see. If you want the design blended into the skin, choose Create Realistic Preview and check the credit amount shown on the button. Download that result separately. Keep both versions if you want to compare the location and outline independently of the blended look.
Compare placements with a consistent photo
Keep the conditions consistent
Use the same photo and artwork when testing two sizes on the same spot. Keep the photo at a similar zoom, save each mockup, and compare them side by side. A medium design may feel more balanced in a wide shot even if a larger version looks striking close up. If you change body areas, compare the space around the design as well as the design itself.
Look at how the edges sit
Watch for parts of the design crossing clothing, disappearing behind a limb or sitting on a sharp shadow. A more neutral pose and soft, even light make these problems easier to spot. Pay particular attention to corners on the wrist, shoulder or neck, where a flat design can look different when wrapped or viewed from the side.
Use different views for different decisions
A straight-on photo helps you compare the position of the outer edges. A second photo from the side shows whether a wide motif wraps farther around the limb than you expected. Save each view with the area and angle in its filename. When trying a vertical motif, rotate it a little in both directions and compare it against the limb's natural line. Give the design enough room in the wider image to see what happens near a joint or an existing tattoo.
Bring a useful reference to your appointment
Save your favorite preview and keep the original artwork with it. Point out the center, orientation and parts you want to keep. Your artist can measure the placement and decide how much detail will fit. If you want a separate linework reference, switch to the stencil editor using the original design already in the workspace.
Frequently asked questions
Can I try on a tattoo I already have as an image?
Yes. Upload your existing artwork directly in Try-On. You can replace the tattoo design while keeping the selected body photo. A clean image with the full design visible makes size and orientation easier to judge.
Do I have to upload a personal photo?
You can use a built-in model to explore the general placement. Your own photo helps when you want to compare the design with your proportions, pose or existing tattoos. The upload dialog explains how the photo is handled.
What happens to my body photo?
It first loads in your browser. Body analysis and realistic preview requests send the required image to processing services, and saved snapshots can include the photo. Review the privacy notice before choosing a personal file.
Can I measure the final tattoo from the preview?
Use the preview as a visual guide. Distance, lens perspective and the angle of the photo affect apparent size. Ask your artist to measure the area and confirm the physical width before printing a stencil.